


Understanding Credit Usage in Noca
Noca uses a simple credit system for AI powered actions across the platform. Most configuration and development actions are free, while certain AI features consume credits when used.
Knowing how these actions work helps teams plan usage and scale their apps efficiently.
Watch & Learn
Step-by-Step: Add a New Connection
The connection setup modal functions as a 3-step wizard, guiding you through the process from app selection to configuration.
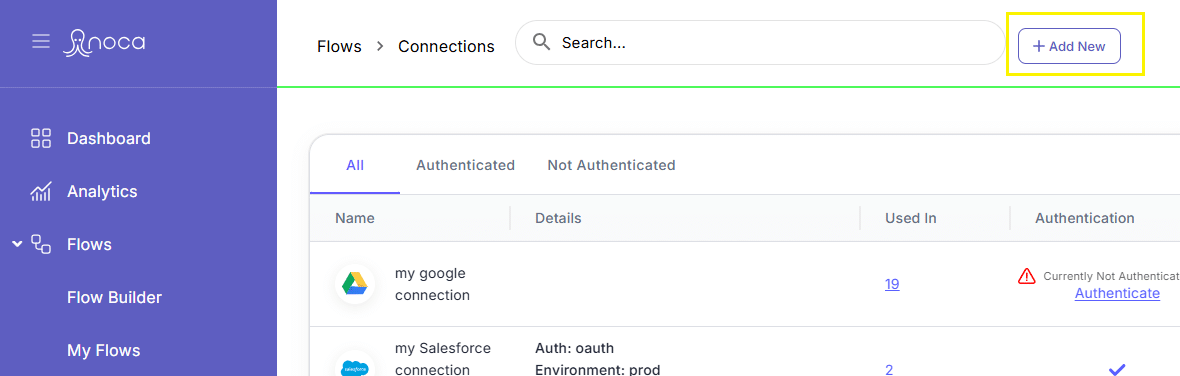
Click on “Add New” button in the header
Select the App or System
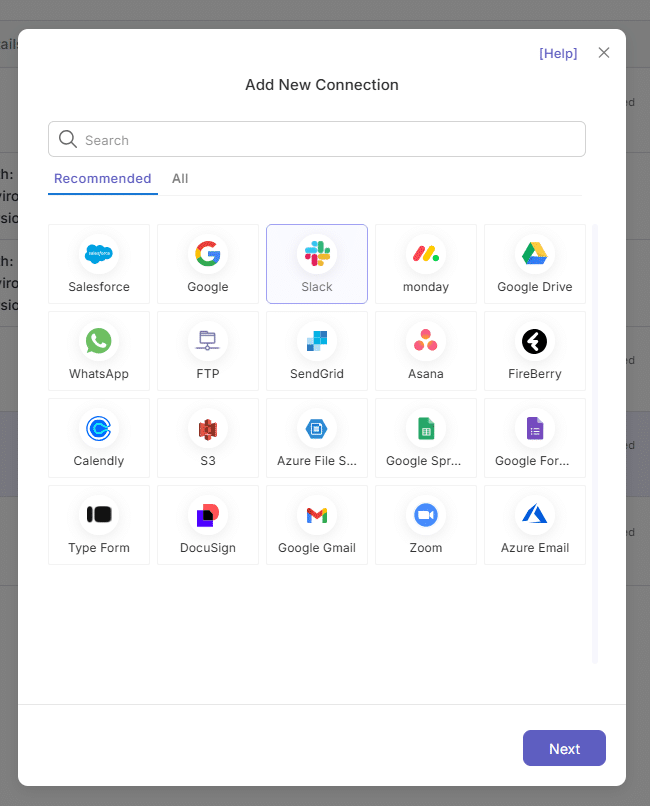
After clicking Add New, a wizard-style modal will open.
Simply Select the app/system you want to connect to in order to proceed.
Notice there are tabs at the top to filter the tiles:
- Recommended – Most-used or relevant apps for your flows
- All – Full list of supported platforms
Sign In and Verify
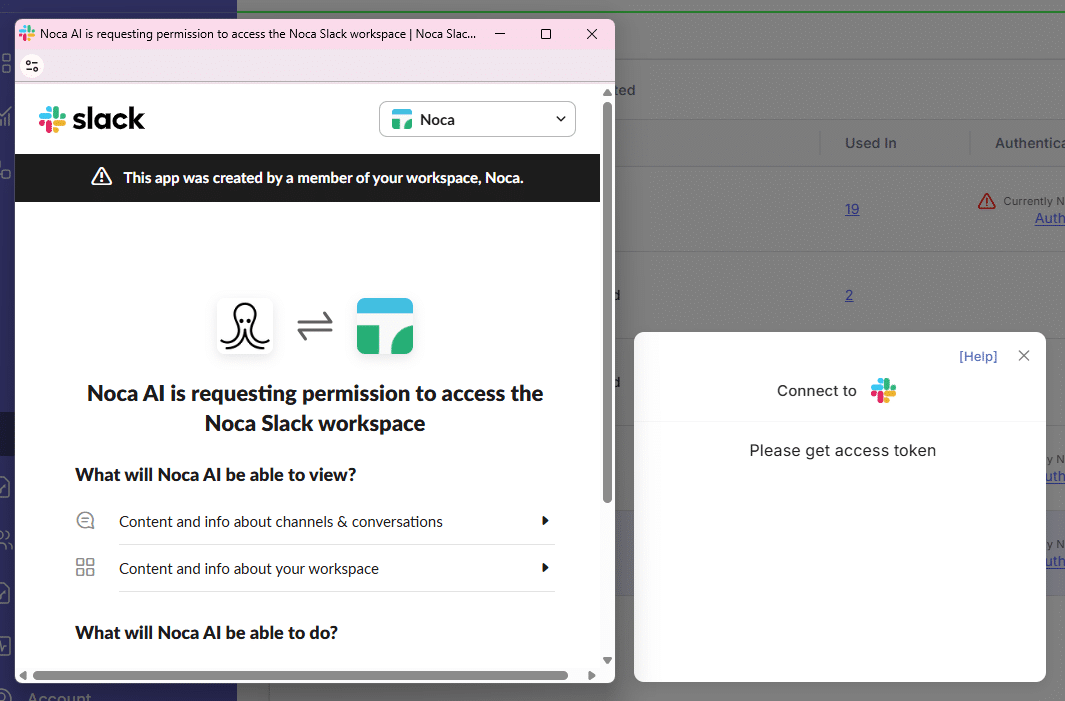
You’ll be prompted to sign in to the selected app to authorize Noca AI.
If you already have existing connections to this app, Noca will detect them and display a list of your current connections, along with the option to edit any of them directly.
If you prefer to create a new connection — for example, to support a different account, environment, or credentials — you can do so by clicking the “Add New” button within this step.
Configure the Connection
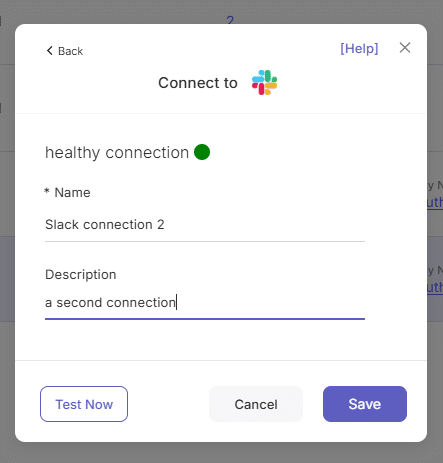
In the final step, you’ll be asked to complete different mandatory configurations such as:
- Connection Name – A unique, descriptive name (e.g., “Salesforce Prod”)
- Description – Optional field to explain the purpose or scope
- Authentication Method – Choose between OAuth or JWT (depending on app support)
- Environment – Select between Production or Sandbox
- Auth Production Button – Click to trigger authentication
- Version – Select the API version or integration version, if applicable (* in most connections this field will not appear)
Optional Final Action: Test the Connection
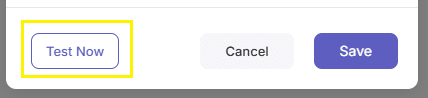
At the bottom of the final step, you’ll see three buttons:
Test Now
To check if the connection is valid (recommended)
Cancel
To exit without saving
Save
To complete setup and add the connection
✅ We highly recommend testing before saving to ensure the connection is authenticated and fully functional.
What Happens After Saving
Once you click Save, the connection will be added to your Connections list table, where it can be used in flows, monitored, and re-authenticated as needed.
Best Practices
- Use clear, consistent names for your connections (e.g., HubSpot – Marketing Sandbox)
- Test each connection immediately after setup
- Re-authenticate whenever credentials expire or API permissions change