
How to Install Word Add-In for Doc Gen (Mac)
Noca Word Add-In
Bring metadata from your integrations to Noca Docs
In this guide, you’ll install the Noca Microsoft Word add in on your Mac using a provided XML file. We’ll walk through finding the correct Word folder on your computer, placing the XML in the right location, restarting Word, and then enabling the Noca add in so you can log in and start using it right away.
If you are using a PC, please refer to the documentation here: https://support.noca.ai/how-to-install-word-add-in-for-doc-gen-pc/
Watch & Learn
Follow these steps to add and configure it:
Steps:
1
Get the add-in XML file
- Download the Noca Word Addin to your Mac using this link (it will end in .xml)
2
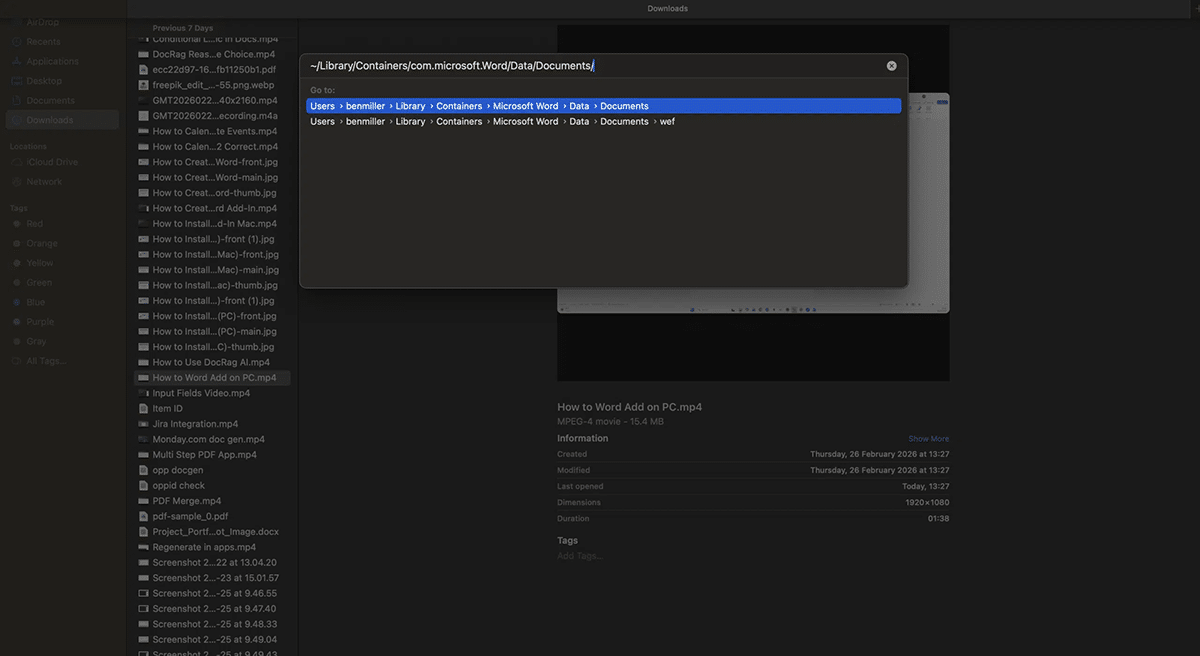
Open the Correct Word Container folder in Finder
- Open Finder
- Press Command + Shift + G to open
- Paste this path and press Enter: ~/Library/Containers/com.microsoft.Word/Data/Documents/>
3
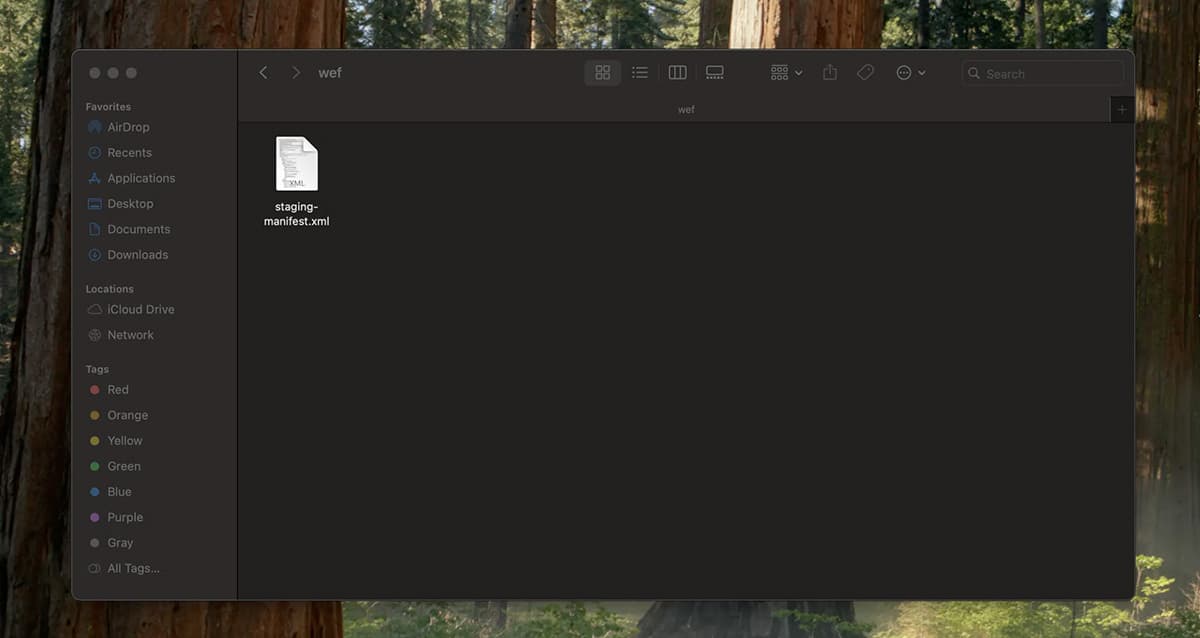
Create the WEF Folder (if it doesn’t exist)
- In the Documents folder, look for a folder named WEF.
- If you don’t see it, right-click in the folder.
- Click New Folder.
- Name the folder: WEF
4
Copy the XML file into the WEF folder
- Open the WEF folder.
- Drag and drop (or copy/paste) the .xml add-in file into WEF.
5
Restart Microsoft Word
- If Microsoft Word is open, quit Word completely.
- Reopen Microsoft Word.
- Click New Document.
6
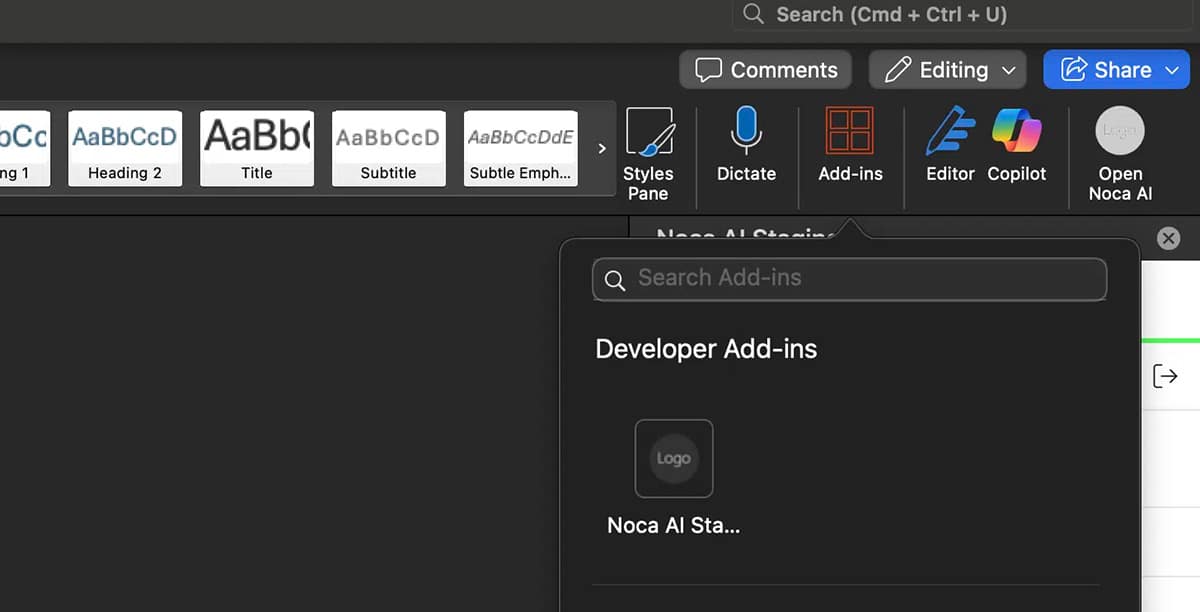
Enable the Noca add-in
- In Word, go to Add-Ins
- Search for Noca
- Select Noca
7
Log In and Get Started
- Open the add-in panel
- Log in to Noca
- Start using the Noca Word Add-in
Back to top