
Managing Users in Noca AI
Users are the foundation of collaboration in Noca AI.
Each user represents an individual with access to a specific environment. Permissions and visibility are determined by the roles assigned to each user, which makes user management essential to both security and productivity.
Watch & Learn
Where to Manage Users
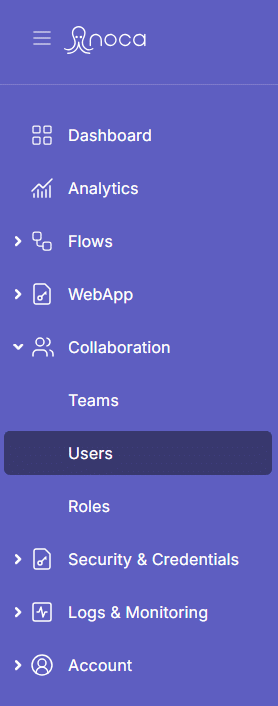
Navigate to:
Left Drawer Menu > Collaboration > Users
Screen Structure
Like the Teams page, this screen includes:
- A breadcrumb at the top for navigation
- An “Add New” button
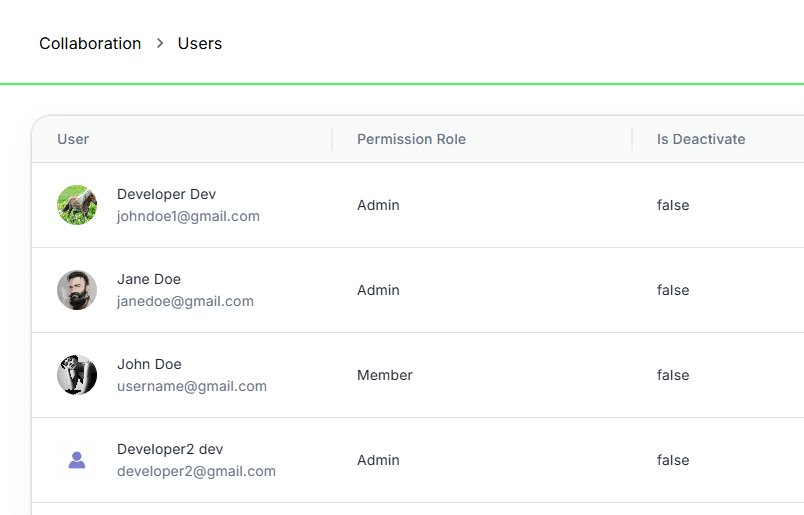
- A table list displaying all existing users with the following columns:
User
The user’s display name and email, shown with their profile avatar
Permission Role
The role assigned to the user (defines their access level)
Is Deactivated
A status flag indicating if the user is currently active (True/False)
Actions Menu (⋮)
Options to:
• View Details
• Edit User Info
• Deactivate User
• Update Role
• Delete User
🟥 Deactivated users are shown with a pale red row background, making them easy to identify in the list.
How to Add a User
Click the “Add New” button
A modal will appear where you’ll need to fill in:
- First Name
- Last Name
- Email Address (required)
- Permission Role (required – select from dropdown)
Click Apply to save
The new user will now appear in the user table with all relevant details.