
Managing Teams in Noca AI
In collaborative projects, it’s common for multiple individuals — or entire teams — to work together on automation, integration, and system operations. Noca AI makes it easy to group users into teams and manage access through shared roles and permissions.
Watch & Learn
Where to Manage Teams
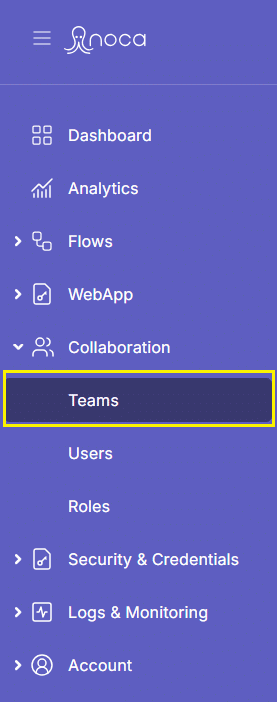
Navigate to:
Left Drawer Menu > Collaboration > Teams
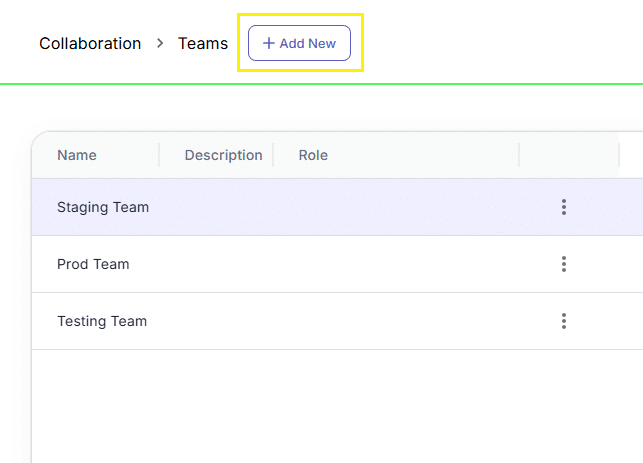
In this screen, you’ll find:
- A breadcrumb for navigation
- An “Add New” button to create a team
- A table listing your current teams with the following columns:
Team Name
Description
Role
Team ID
Actions Menu (⋮) – Options to:
- View team details
- Edit team info
- View / Edit / Add users to the team
- Delete the team
How to Add a Team
1
Click the “Add New” button
2
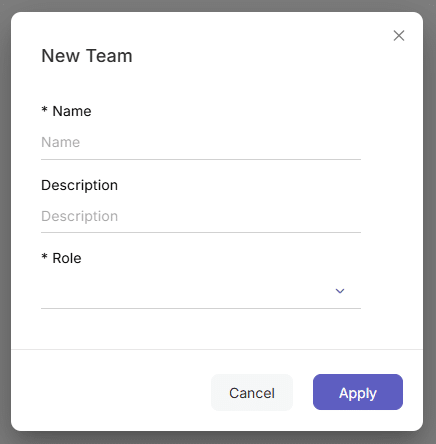
A New Team modal will appear
3
Fill in the following:
- Team Name
- Description
- Assigned Role (select from dropdown)
Each role defines a unique set of permissions, so by assigning a role, you determine what the team is allowed to access or modify.
Learn more about roles
4
Click Save
The new team will now appear in the table. But your work isn’t done yet — you’ll need to assign users to it.
How to Add Users to a Team
1
In the table, locate the team you want to update
2
Click the ⋮ kebab menu > Users
3
In the Team Users modal, you’ll see:
- A list of current users (if any)
- A trash icon next to each user to remove them
- An “Add Users” button at the top
4
Click “Add Users”
- A secondary modal opens with a dropdown listing all available users
- Select a user and click Apply to add it to the team
🔐 Important: You can only add existing users to a team. If no users are available, first create them via the Users Page.
Back to top