
How to Build a Secure Salesforce Customer Portal in Noca AI
Customer Login Portal:
Fast, Secure Salesforce Data Access
Learn how to create a private access web app in Noca AI, set up a simple login, and use authenticated context to pull Contact and Account data from Salesforce. The same workflow can be applied to other enterprise systems of record supported by Noca.
Private portals often fail for two reasons: the build gets expensive fast, and the maintenance never stops.
Every new field, permission rule, or workflow change turns into more custom work.
This guide shows a practical pattern in Noca AI: generate an app from a prompt, lock down private pages, and use a simple login to create an authenticated context that can pull data from multiple places inside Salesforce.
Salesforce is the example, but the same approach works with other enterprise systems of record that Noca supports.
Watch & Learn
What you will build:
A two page portal with a login page and a private company information page that pre-fills from Salesforce.
A login flow that reads a Salesforce Contact by email and returns JSON values like email and Contact ID for reuse across the app.
A company page flow that uses Contact ID to fetch the related Account and map account name and address into the page.
Follow these steps to add and configure it:
Steps:
Generate the app structure
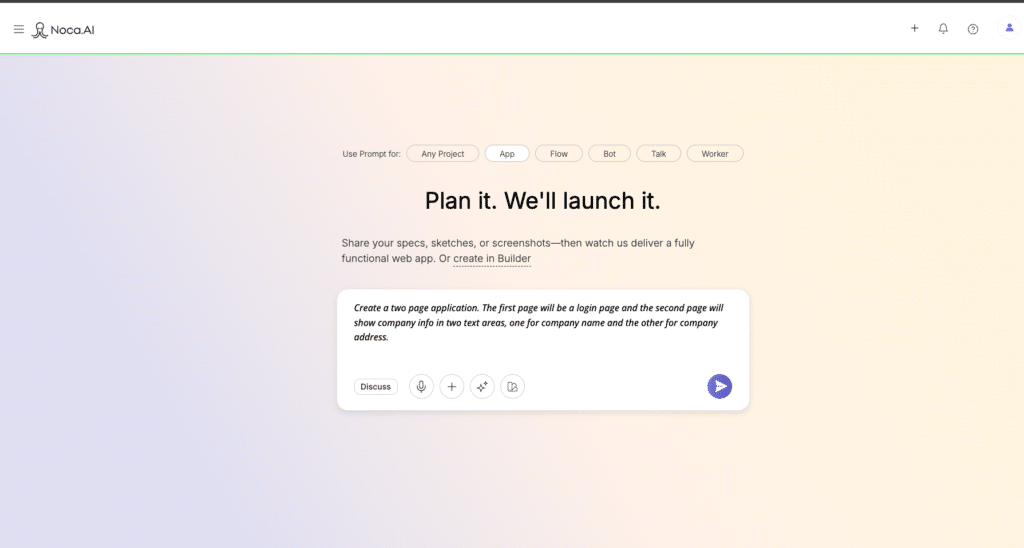
- In Noca, go to Apps > New
- Start with a prompt that describes the pages you want.
- In the video above we do a simple version with two pages: login and company information with company name and address.
- The prompt we used is: Create a two page application. The first page will be a login page and the second page will show company info in two text areas. One for company name and the other for company address.
- Click the arrow and let the app generate.
Make the right pages private
- On the right side of the screen click structure and navigate to the name of the page that you want to make private, ie. pages that require authentication to view.
- In our example, the company page should be made private.
- Navigate to the kebab menu icon to the right of the page that you want to make private and choose Make Private Access
Create a Login Flow
- Navigate to the kebab menu on the LoginForm under the Login Page in the structure menu
- Click on Data Binding > Configure
- Create a new flow to identify the user who is logging into your application
- In this example we used the following prompt: Create a login flow that read a Contact from Salesforce based on E-mail.
- You will be prompted to choose an existing Salesforce connection or create a new one.
- To learn how to create a new Salesforce connection, either follow the onscreen instructions or refer to this article: https://support.noca.ai/setting-up-a-salesforce-connection/
- Before applying your new login flow click edit next to the name of your new flow to review the configuration
Configure Login Flow
- Your flow should be comprised of three steps
- LoginForm
- Get Contact Info from Salesforce
- API Response


- In the second node, Get Contact Info from Salesforce, verify the following:
- Source = Object
- Action = Read
- Object = Contact (or whichever object you’re using to login the user)
- In our example the condition should be If Email equals Email Address coming from the previous node in the Login Form
- Next go to to Node 3, API Response
- Type = JSON

- Email and ContactID
- Type = JSON

- Then map the key values from the App Fields in Node #2, Email to Email and ContactID to ContactID


- After confirming the configuration make your flow live by clicking go/stop below the Last saved on time stamp at the top of your project
- Now return to the Login Flow page in your project and Apply the flow that you created
Connect the Login Flow to Your Security Settings
- In the main screen of your app configuration navigate to the kebab menu on the top right of the screen
- Choose Security
- Toggle Custom Login Page
- In the pick list below Login Flow choose the newly created login flow from the previous step and click update


Determine and configure your Onload Event
- In the structure menu on the right side of your screen navigate to the private page in your app, in this example the Company Information page
- Expand the Company Information page menu on the left side using the arrow
- Navigate to the kebab menu in the CompanyInformationForm component and choose Events > Call Onload when component is used to fetch data
Create a New Flow for when the component loads
- In the Configure: Call onload when component is loaded to fetch data modal click Create a New Flow
- Describe what your flow should do in the prompt
- In our example we used the prompt: Use the email from the login to read a contact in salesforce and then read the related account from that contact to populate the company name and address
- Follow the onscreen instructions to allow the flow to be generated
- When the flow is finished being generated click the edit button to continue configuration


Configure Onload Component Flow
- In the new flow confirm that you have the correct nodes for what you want to accomplish
- In our example we have: CompanyInformation, Read Contact, Get Account from Salesforce, API Response
- Confirm that in each of your nodes the mapping and filters are correct
- In our example, the correct mapping and filters are as follows:
- Node 1
- Application = Login and Company Info Portal
- Page= CompanyInformation
- Node 2
- Source= Object
- Action= Read
- Object= Contact
- Condition= If Email = Email Address from LoginForm fields in App Fields from Node 1
- Node 3
- Source = Object
- Action = Read
- Object = Account
- Condition = If Account ID equals Account ID (from node 2 App Fields > Account ID (Account) > Account ID
- Node 4
- Type= Web Application
- Company Name = Account Name (from node 3 app fields)
- Company Address = Address (from node 3 app fields)

- Node 1

- After all configuration is complete click Go Live to deploy your flow and then activate in the previous onload component configuration modal
Preview, Publish, and Launch!
- Now that your project is fully configured go to the Play button at the top of your main app screen and give it a preview to test and make sure everything is working
- Once testing is complete click Publish and launch your app!


Using the same pattern with other systems
Salesforce is used here because it is common and the object relationships are easy to see. The same pattern applies to other systems of record supported by Noca. You still create a login flow that returns a stable identifier, then use that identifier in page flows to fetch related records and map fields into the UI.