Switching Environments
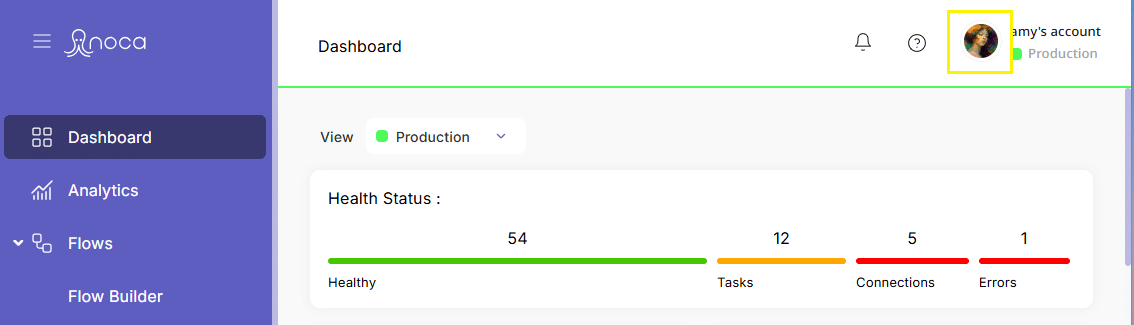
When you’re juggling multiple workspaces – Development, Integration Testing, Staging, and Production – it’s vital to know exactly which one you’re in before making any changes. The environment switcher in the header always shows your current context and lets you flip to the right environment in one click.
Watch & Learn
Color Coded Environments
Each account can have multiple environments, such as:
* Production (live)
* Staging (testing)
* Development (sandbox)
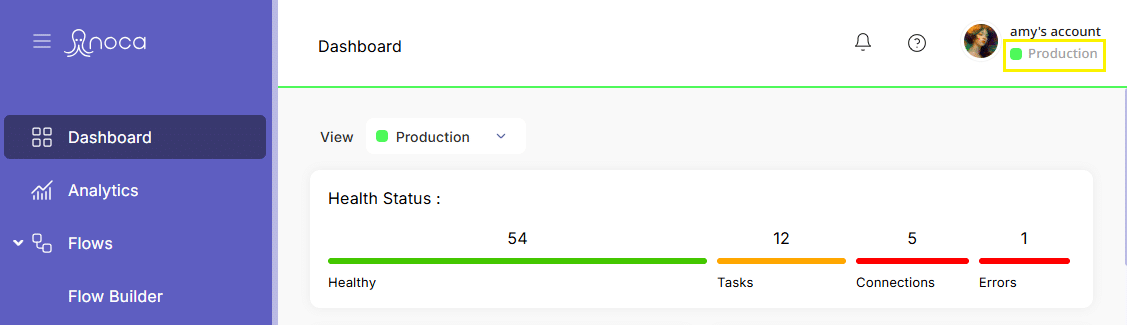
The environments are color coded – making it easy to visually confirm which environment you’re in at all times.
🟢 Green = Production
🟡 Yellow = Staging
🔵 Blue = Development
The color code is used in two places:
1- a colored icon next to the environment name in the user profile menu.
2- a colored line at the bottom of the header bar, matching the environment color.
There are two ways to switch environment:
Option 1: From the User Avatar
Click your user avatar in the top-right corner of the screen.
This opens the full User Menu.
Click “Switch Environment”.

In the modal that appears, select the environment you want to switch to.
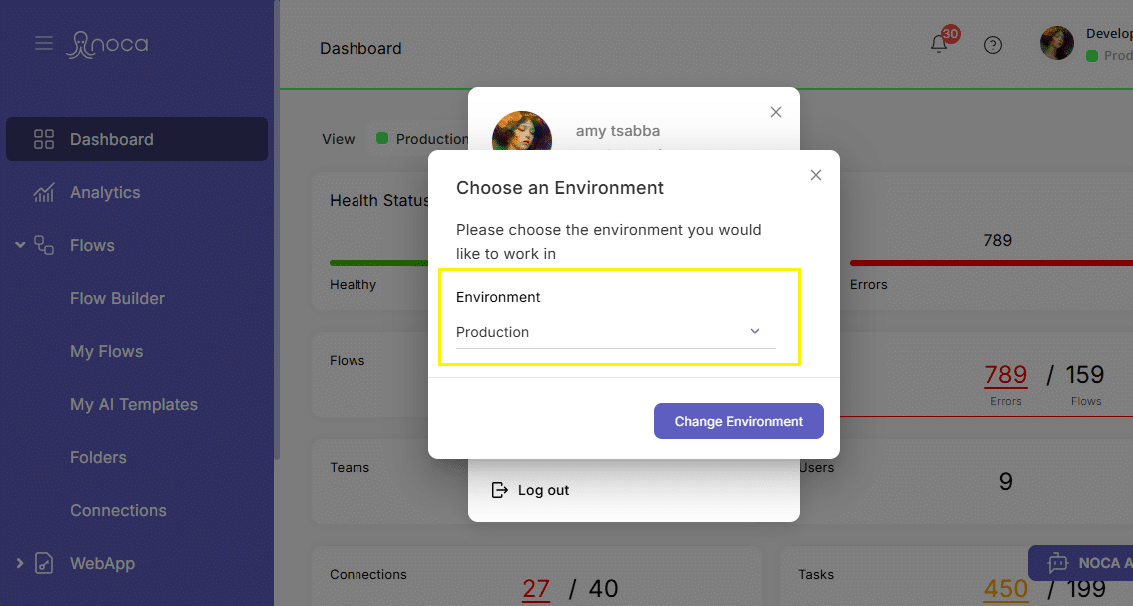
Click “Change Environment”.
Once switched, the environment name and color indicators will update.
Option 2: From the Environment Name
Click the Environment name directly in the User Profile Menu.
This opens the same Environment switch modal.
Select the desired account and click “Change Environment”.
Both options lead to the same result — switching your current working Environment and refreshing the platform context accordingly.