Understanding and Managing Rate Limits
Many modern applications enforce rate limits to control how frequently clients can interact with their APIs. This ensures performance, reliability, and service availability.
At Noca AI, we’ve adopted a similar approach — allowing you to define rate limits for your flows to avoid overwhelming external systems with too many requests.
Watch & Learn
How Rate Limits Work
When you set a maximum number of interactions per minute, Noca AI will process up to that limit (per application) and then automatically queue any additional interactions. Once the next minute begins, queued items are processed in order.
This ensures that your flows stay compliant with system constraints without dropping or failing tasks — keeping your integrations running smoothly.
Where to Configure Rate Limits
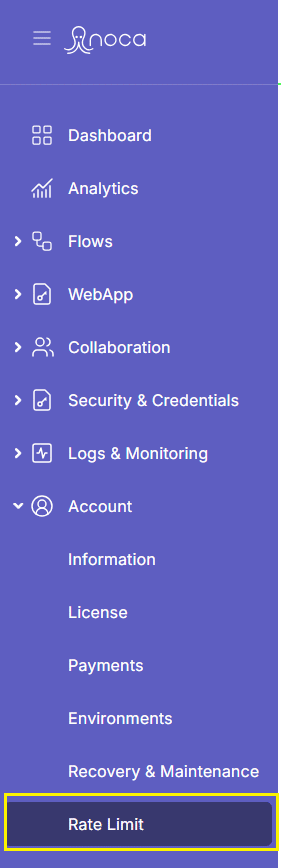
Navigate to:
Left Drawer Menu > Account > Rate Limit
In this screen, you can set:
- A default rate limit for all services
- Specific rate limits per individual service
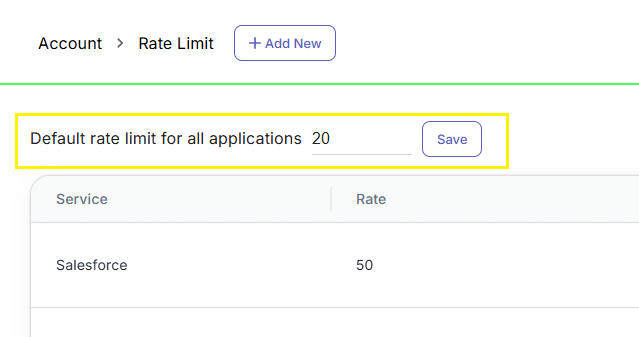
Default Rate Limit for All Applications
At the top of the screen, you’ll find the setting:
“Default rate limit for all applications”
- This sets the maximum number of interactions per minute across all apps in your environment.
- For example, if set to 30, then Slack, Salesforce, Google, etc., will each be limited to 30 requests per minute — unless otherwise specified.
Setting a Specific Rate Limit per Service
You can override the global limit for any service:
Click the “Add New” button in the header
A modal will open where you:
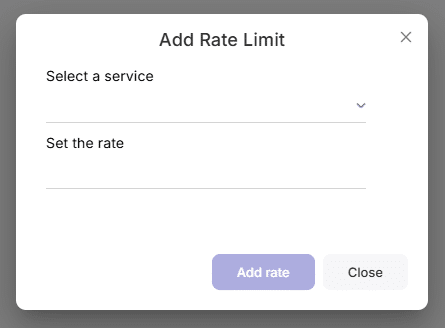
- Select the service from a dropdown (e.g., Salesforce)
- Enter the rate limit (e.g., 40 interactions/minute)
Click Save
A new line will appear in the table below the default setting, showing:
- The service name
- The custom rate limit💡 Services with custom limits will use that value instead of the global one. All others will inherit the default setting.