Setting Up a Zoom Connection
To unlock advanced meeting management, automate scheduling, and integrate Zoom features with Noca AI, you’ll need to establish a secure connection between your Zoom account and Noca AI. You can easily do this from the Connections screen using our guided setup wizard.
Where to Start
Open the left drawer menu
Navigate to Security & Credentials > Connections
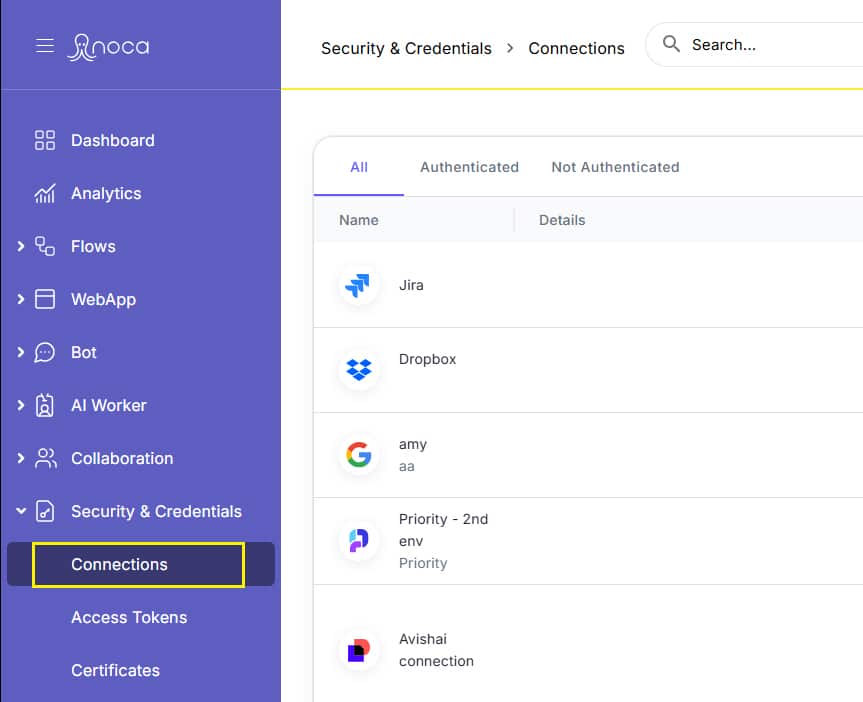
Click the “Add New” button at the top of the page

This opens a multi-step wizard to guide you through setting up your Zoom connection.
Step by Step
Choose the App
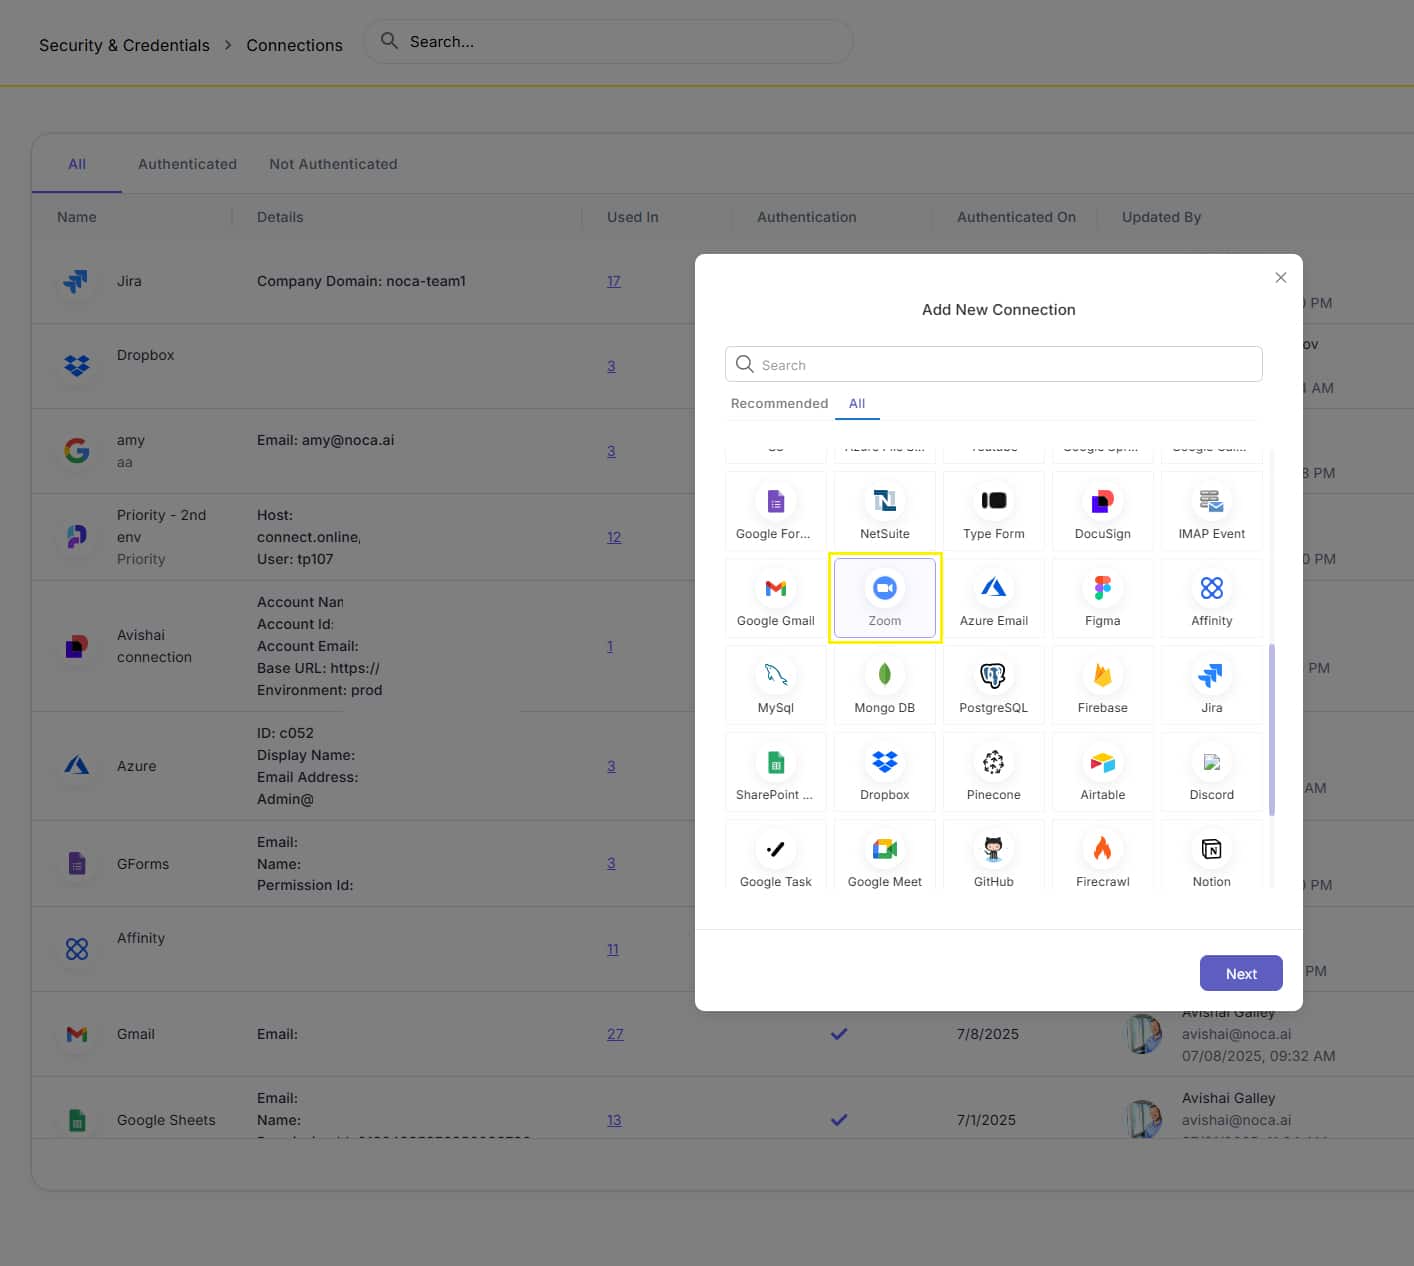
- In the app selection screen, locate Zoom in the list of available services.
- You may find it under the Recommended tab, but if not you can use the search box to look for it, or switch to the All tab to browse all existing services.
Click on the Zoom tile and then click Next to continue.
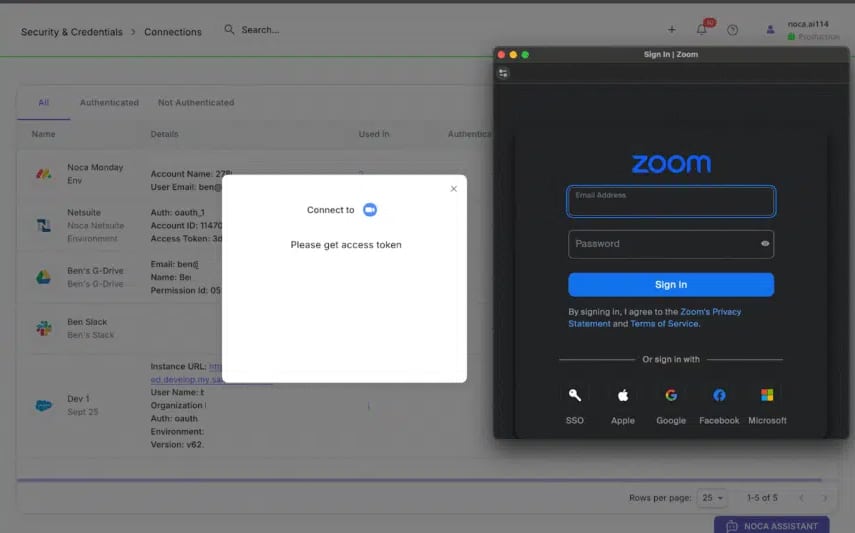
Connection Details
A Zoom screen will open automatically.
Sign in to Zoom using your Email and Password or connect via SSO, Apple, Google, Facebook, or Microsoft.
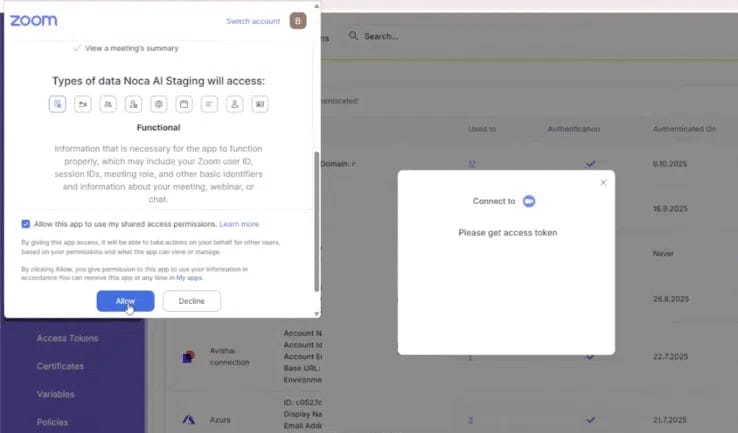
Authorize Access for Zoom
Zoom will now ask you to allow permission access for the Noca AI App.
- Check “Allow this app to use my shared access permissions.”

- Once you click “Allow”, you’ll return to Noca to finish the setup

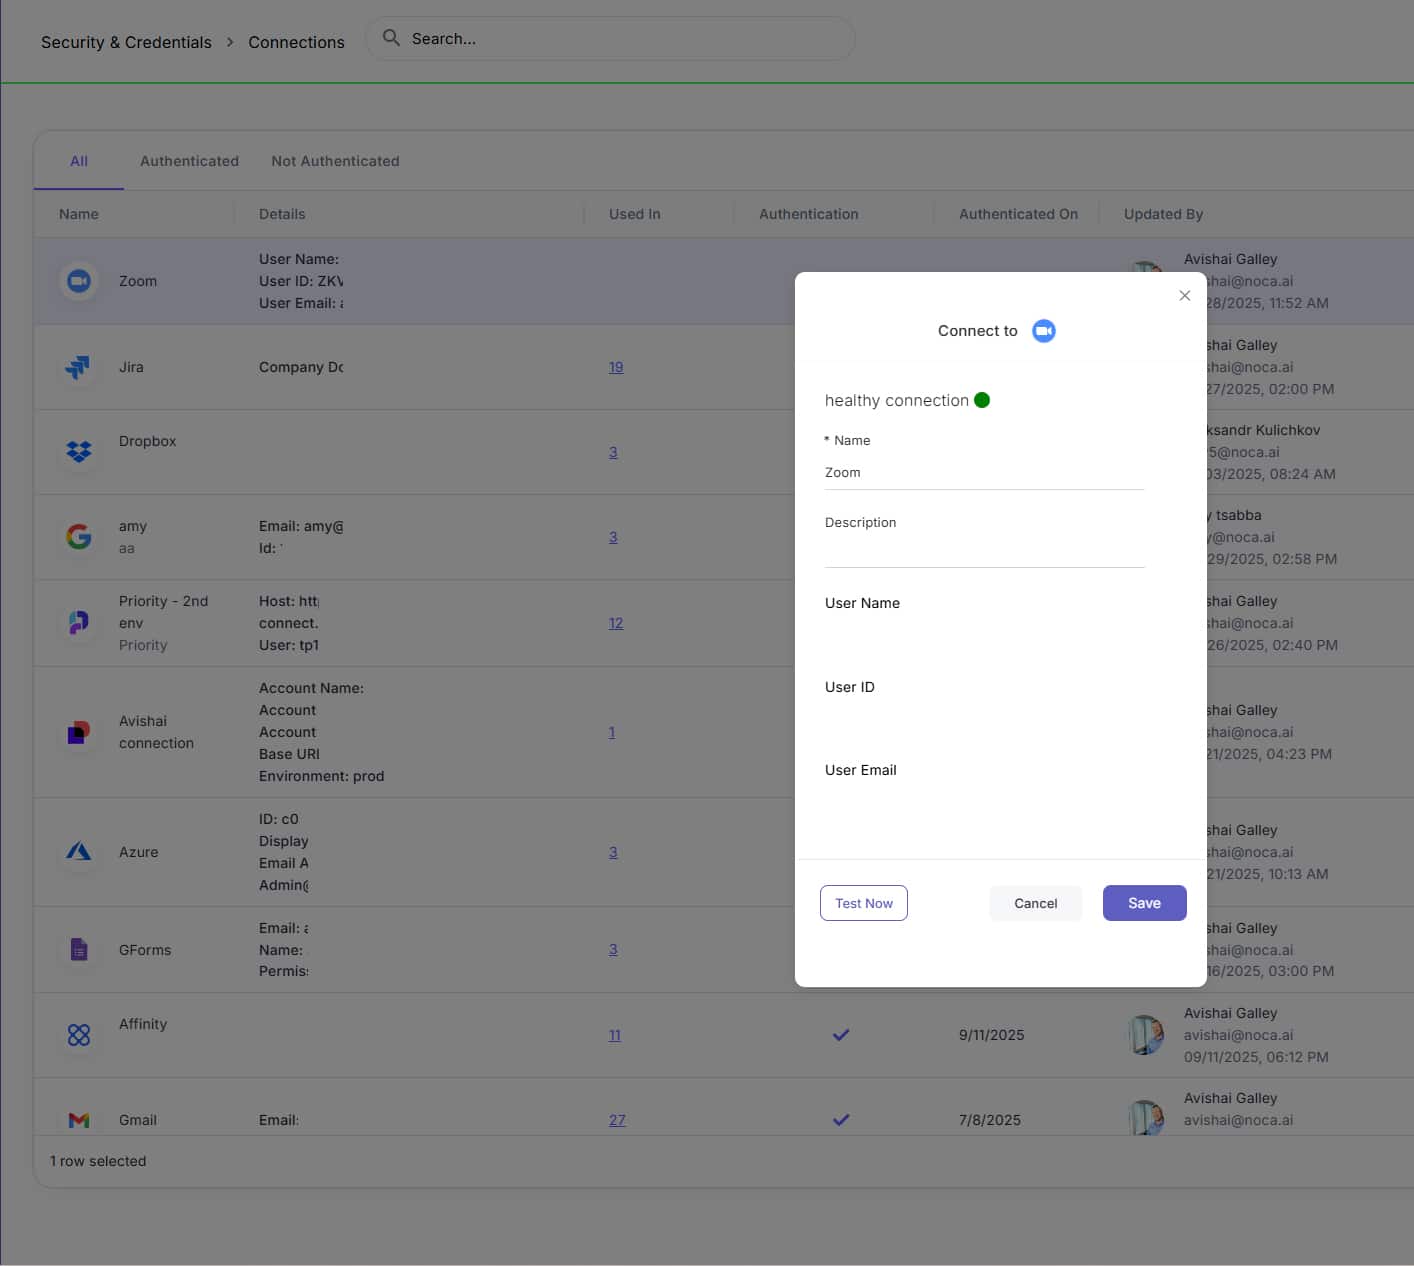
Now you need to give your connection a Name and Description.
Then click Test and after the Test is successful, click Save.
Wizard Header Options (Always Available)
At the top of the modal throughout the wizard, you’ll find:
Back
Navigate to the previous step
Help
Opens a relevant Help Center article for the current step
X (Close)
Exit the setup process
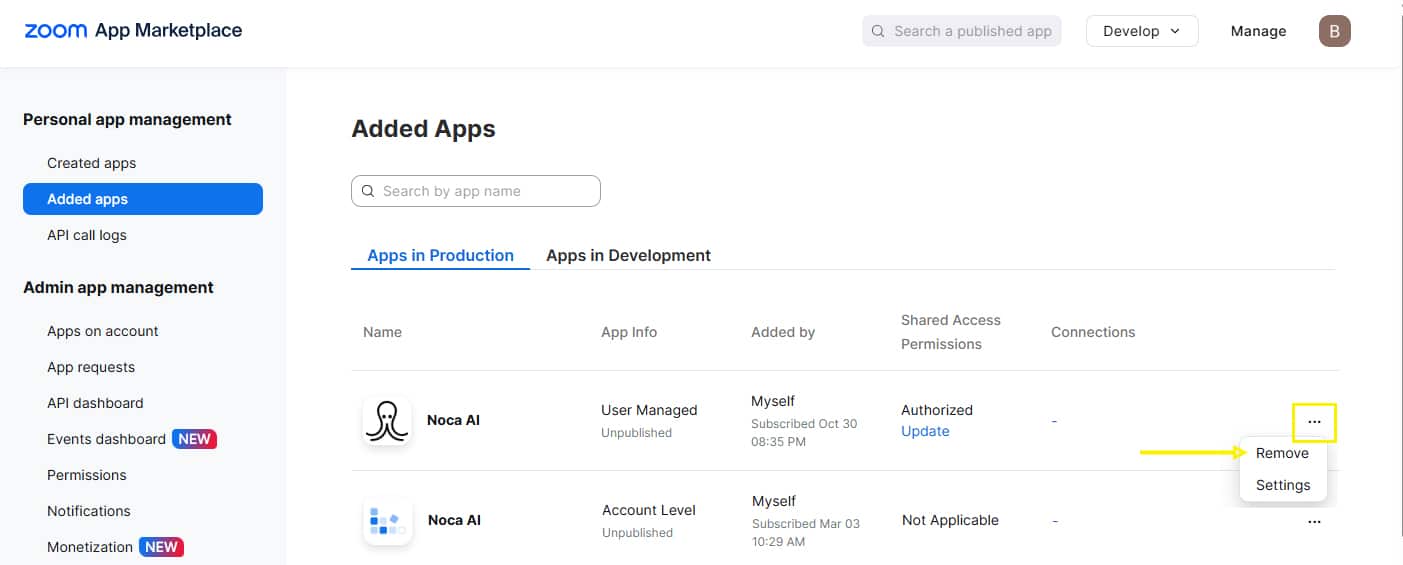
How to Remove the Zoom App
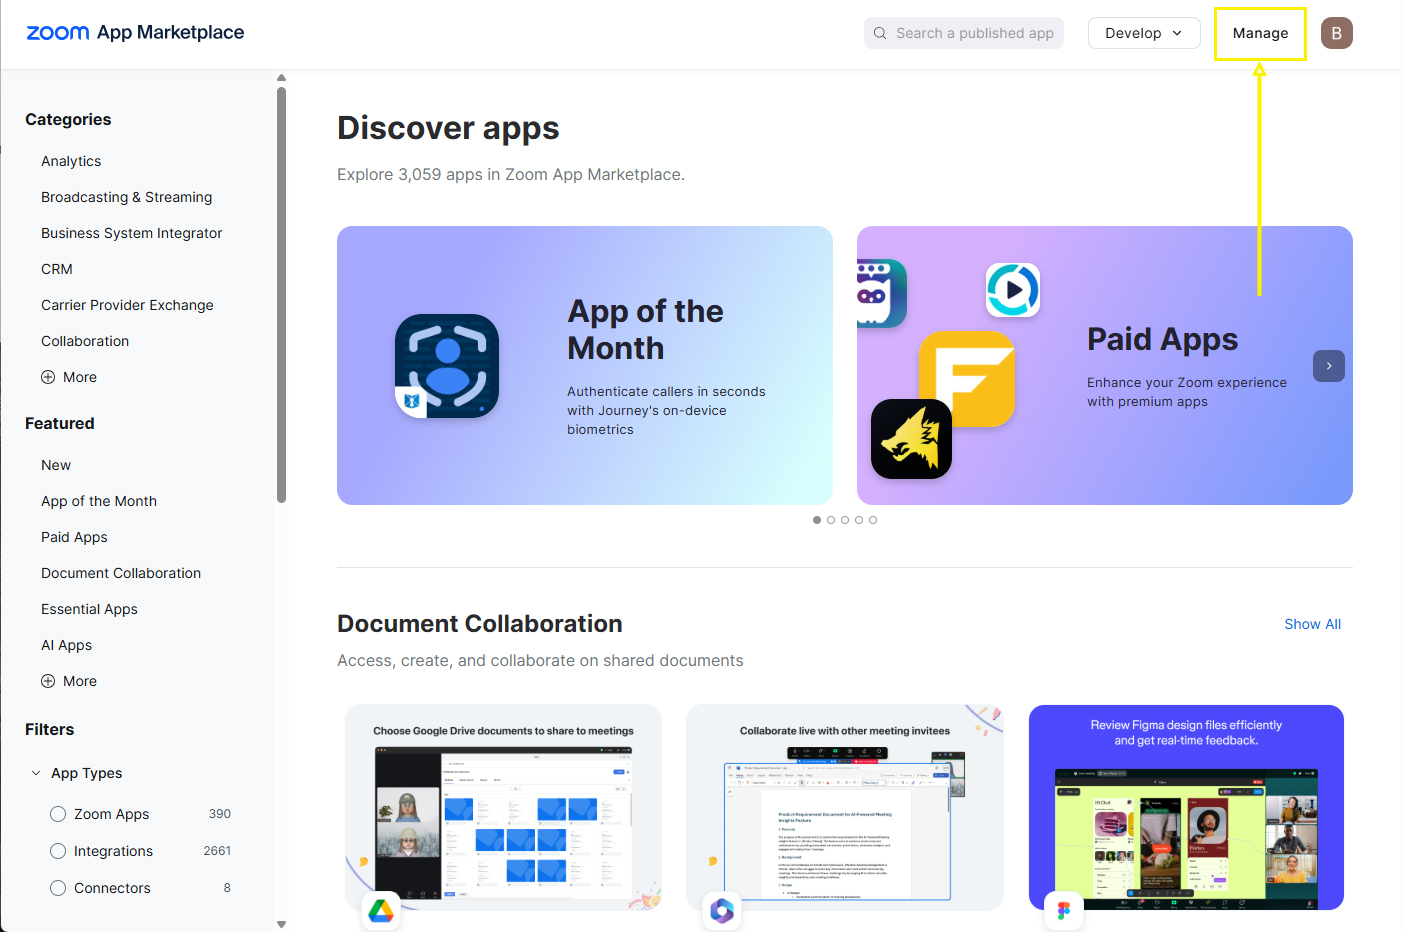
Go to Zoom App Marketplace
Log in to your account
Click The ‘Manage’ button in the header
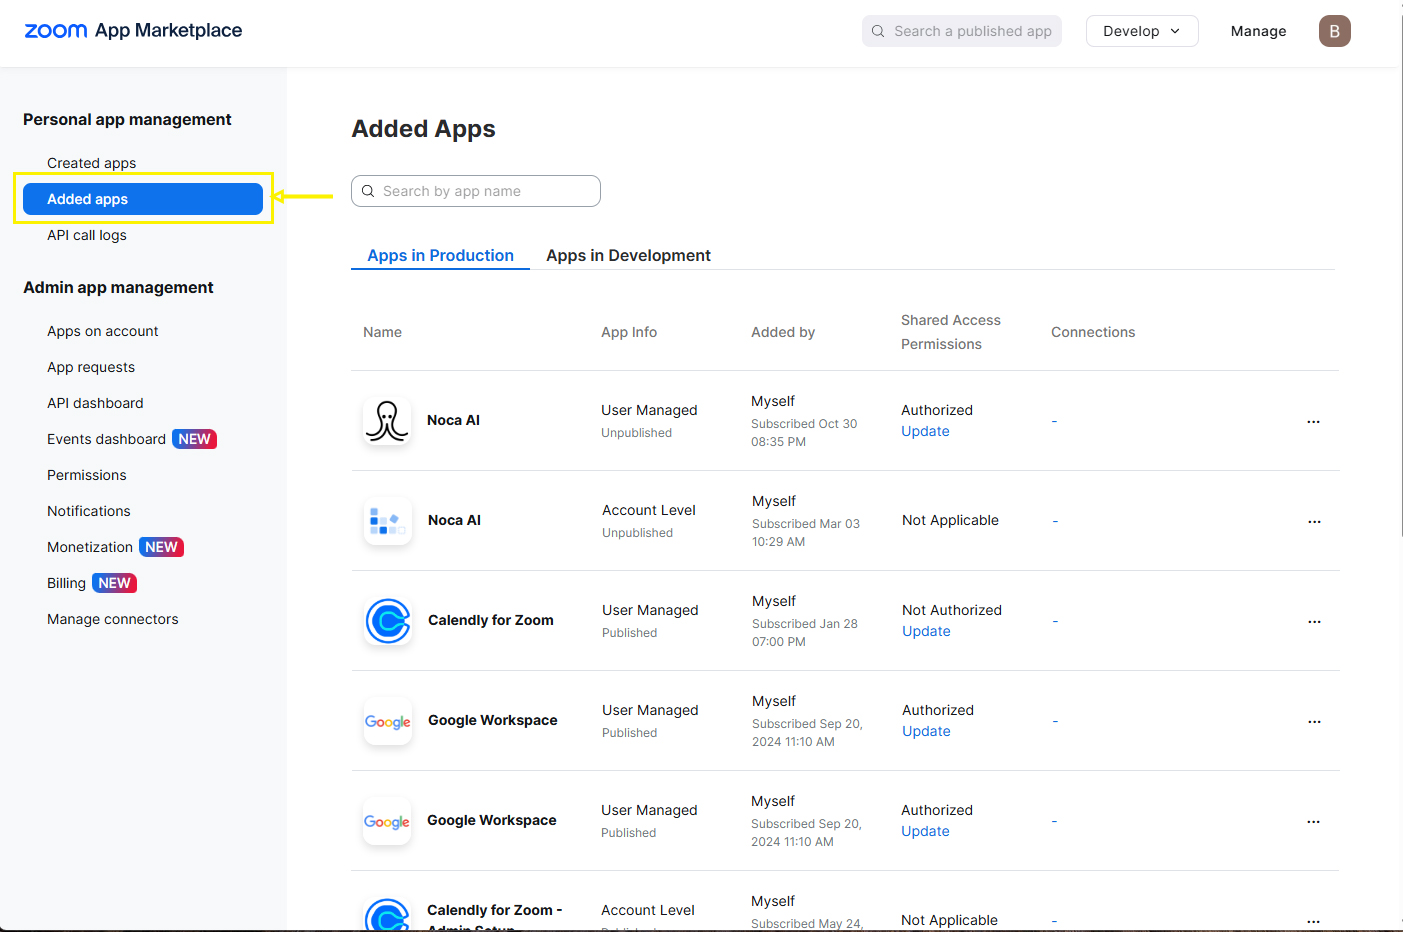
Select the ‘Added Apps’ option in the left menu strip
A list of your apps will then appear.
Open the kebab menu of the relevant App in the list
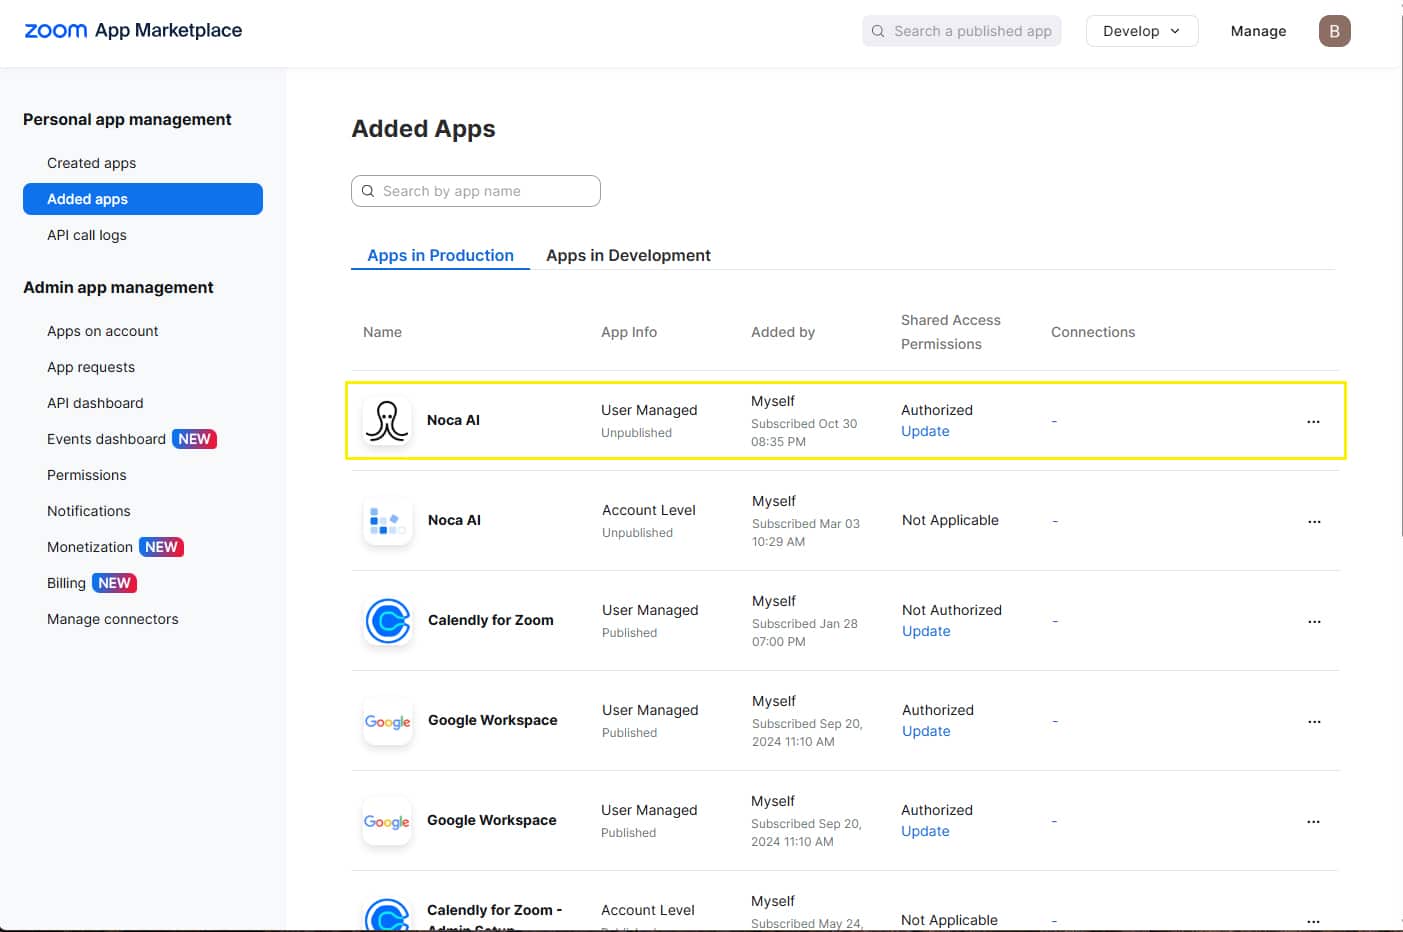
And choose the ‘Remove’ option