How to Use the Schedule Trigger Node
Schedule nodes let you trigger flows automatically at specified times or on recurring intervals—no external event required. On the canvas, a schedule node is drawn as a “D” shape, just like other initial (start) nodes, so you can spot your triggers at a glance.
Follow these steps to add and configure it:
Create a new flow
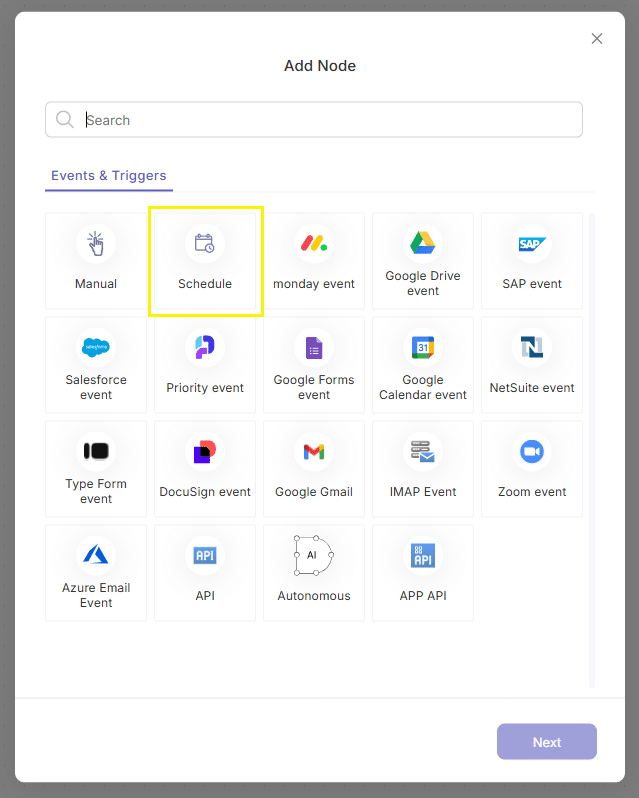
Once your canvas opens, the Add Node modal appears automatically.
Insert the Schedule node.
- In the modal, the Events & Triggers tab will be open.
- Select Schedule and click Insert.
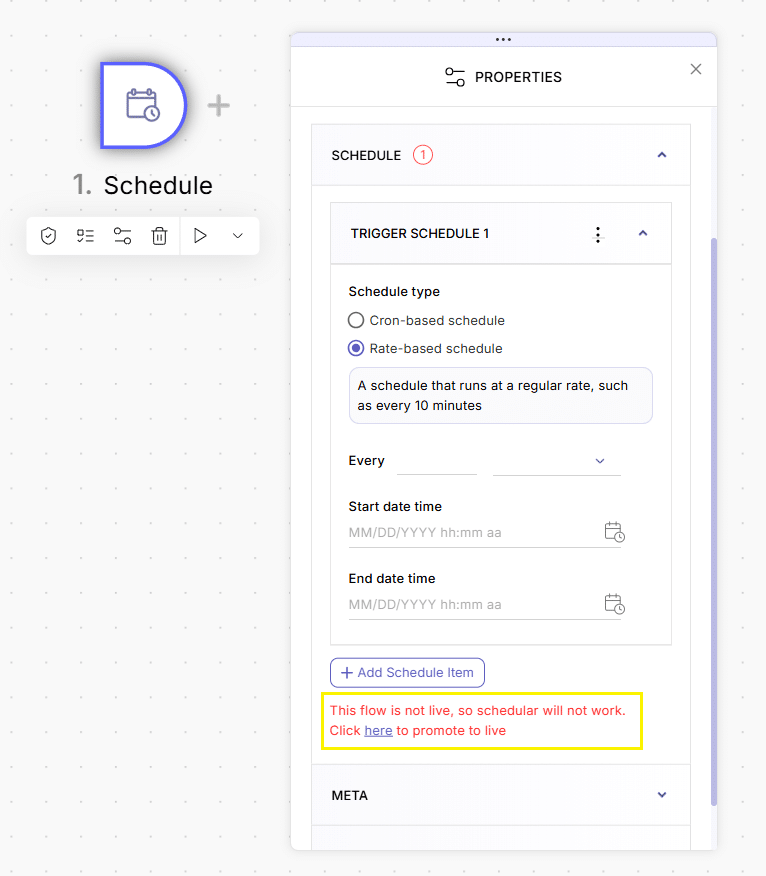
The node is placed on your canvas, selected, and its Properties panel opens.
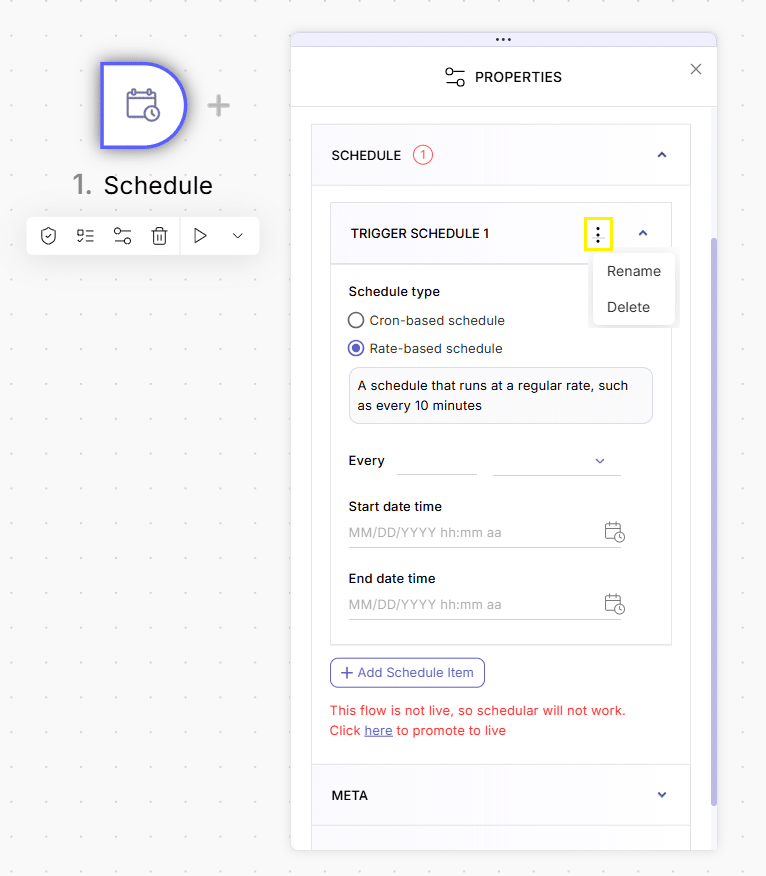
Locate the open default schedule item
- Under the Schedule category in the Properties accordion, you’ll see Trigger Schedule 1 already created.

- Click the kebab menu (⋮) to rename or delete this item.
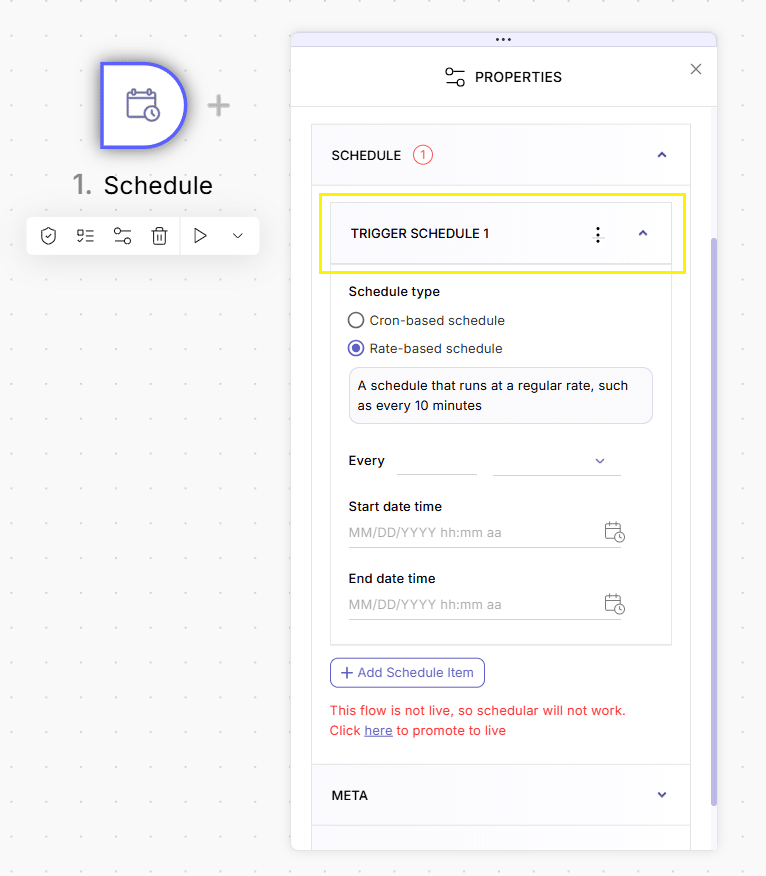
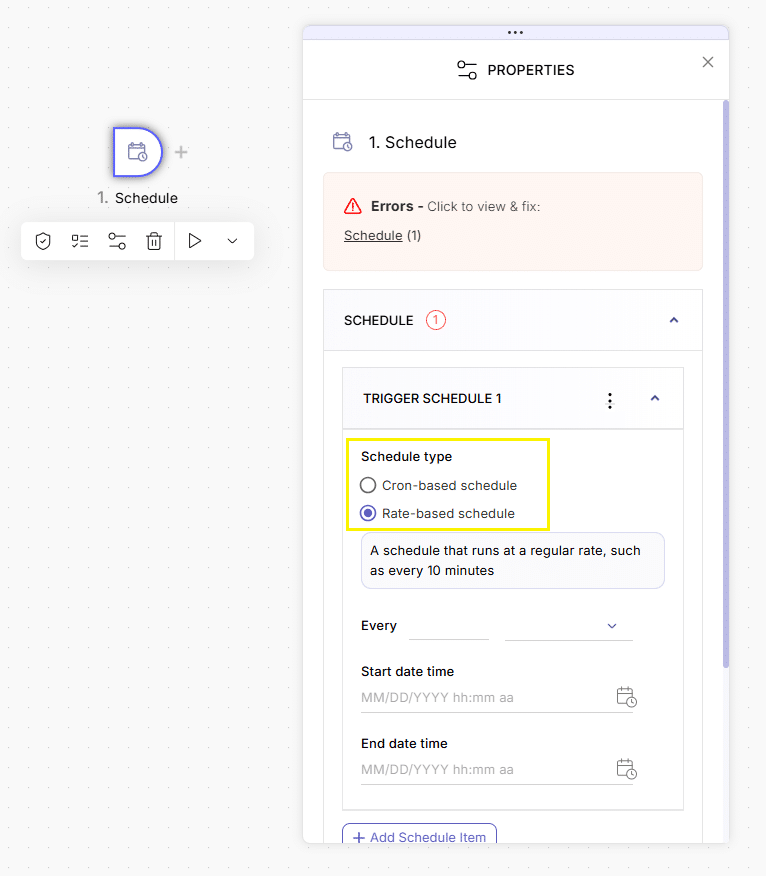
Choose a schedule type.
- Cron-based schedule: run at a specific date/time.
- Rate-based schedule: run at a fixed interval.
Depending on your choice, the appropriate inputs will appear:
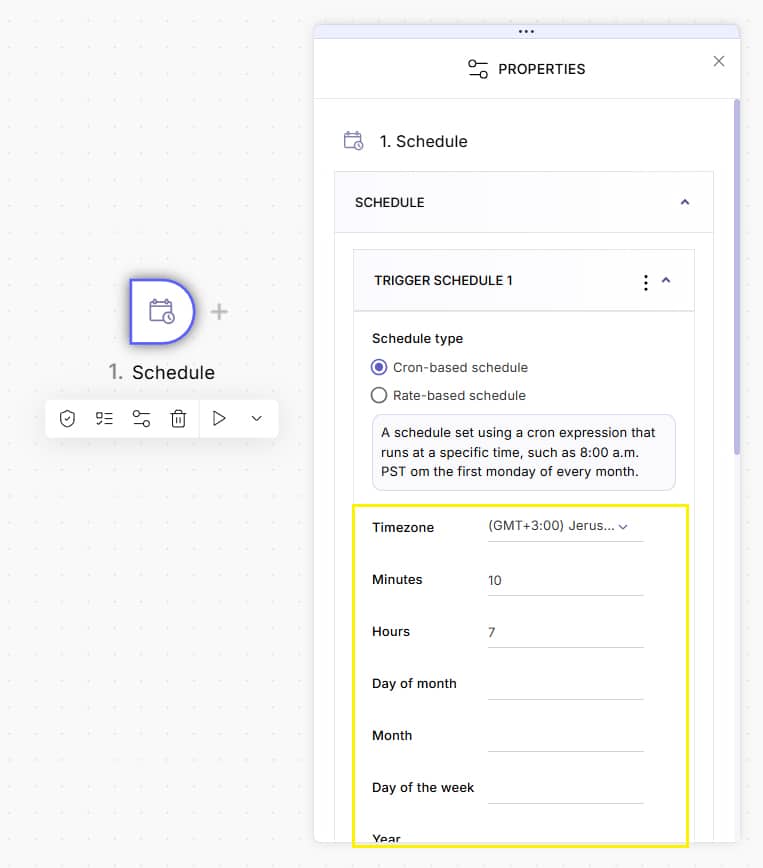
Cron-based schedule fields:
- Timezone
- Minutes
- Hours
- Day of month
- Month
- Day of week
- Year
Example: at 00 : 0 0 * * FRI – At 12:00 AM, only on Friday
Use a Cron expression generator
Rate-based schedule fields:
- Interval number (numeric)
- Interval unit (minutes / hours / days)
Example: every 3 days
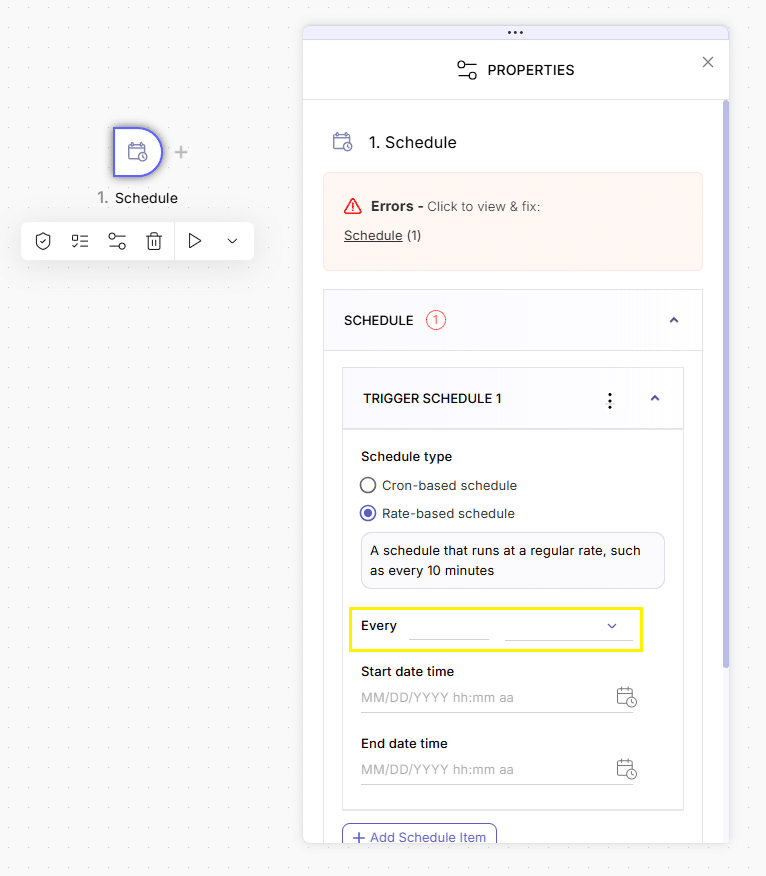
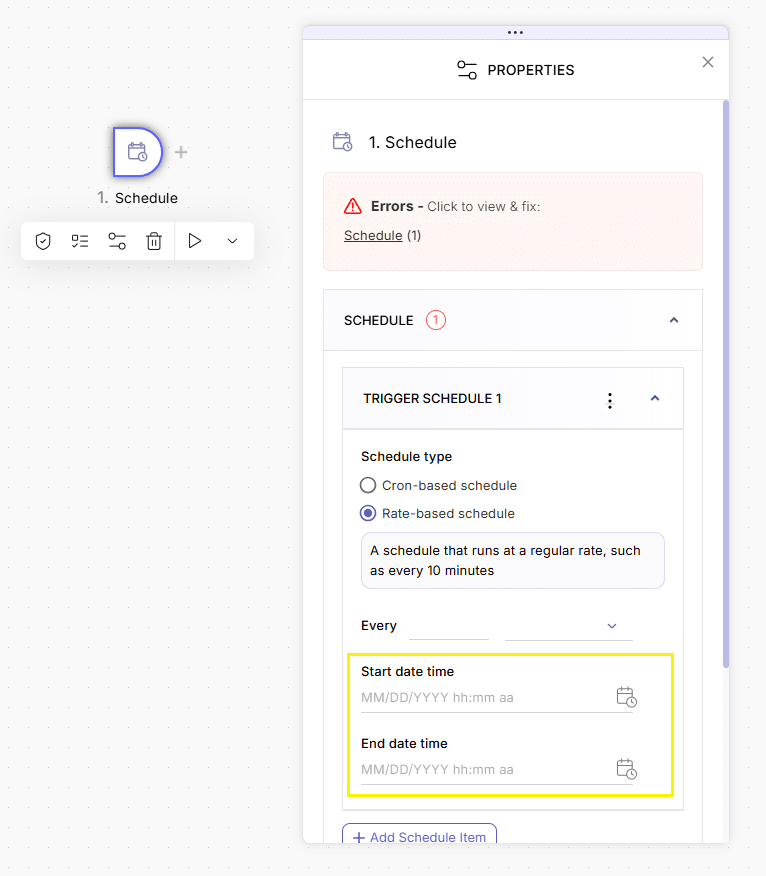
Set an active timeframe.
Below the Cron/Rate inputs, specify:
- Start Date Time
- End Date Time This defines the overall window in which the schedule will fire.
Add additional schedule items (optional).
Click Add Schedule Item to create multiple triggers on the same node.
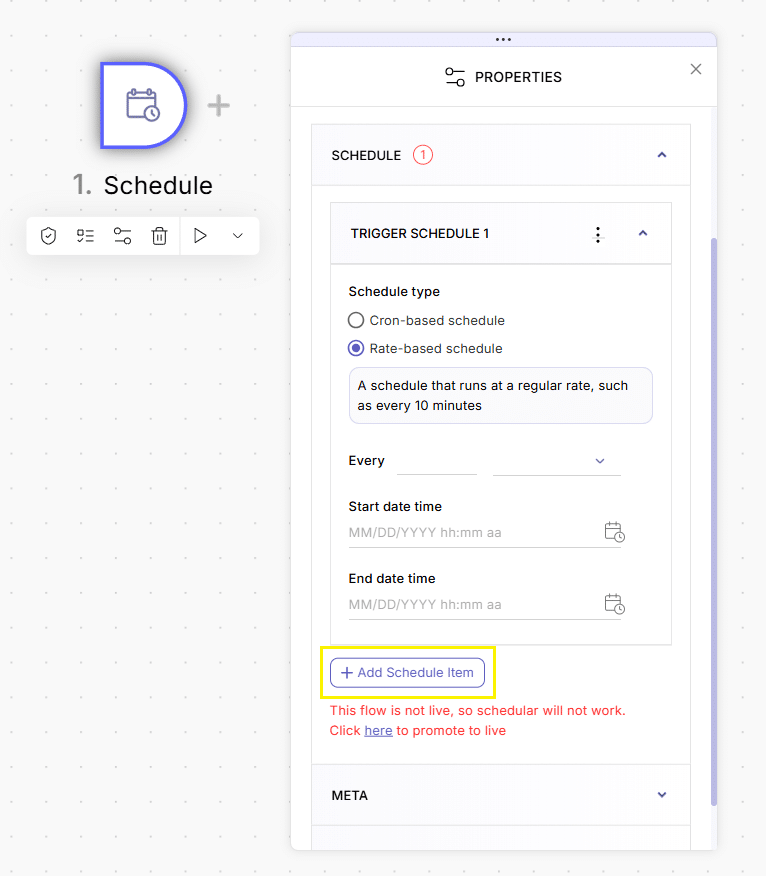
Publish your flow
The Schedule trigger only works on live flows.
If your flow is unpublished, you’ll see an error below the Add button with a link to go live.